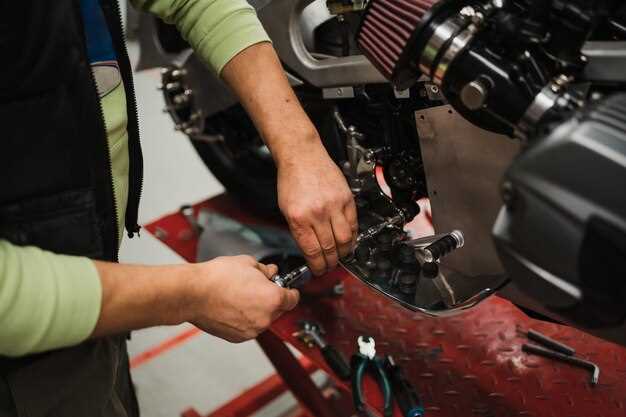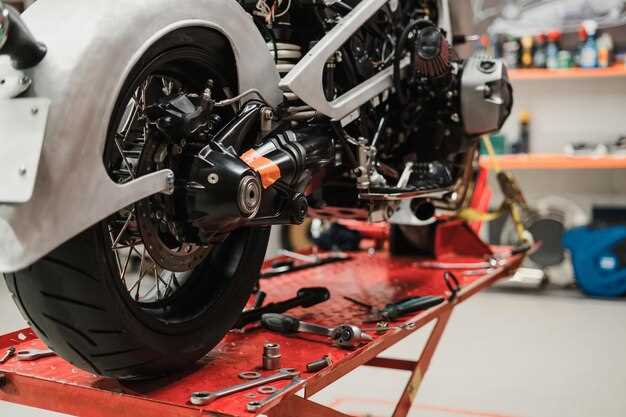

A motorcycle’s suspension system plays a crucial role in its overall performance and handling characteristics. Properly tuned suspension can significantly enhance your riding experience, providing better stability, improved cornering capabilities, and increased comfort on various terrains. Whether you’re a seasoned rider or a newcomer to the world of motorcycling, understanding how to set up your suspension can transform your connection with your bike.
Each motorcycle is designed with a unique set of specifications that dictate how its suspension should be adjusted. Factors such as rider weight, riding style, and intended usage must be taken into account when making any adjustments. By tailoring the suspension setup to your personal needs, you can optimize grip, reduce road shock, and enhance feedback from the bike.
In this article, we will explore essential tips for adjusting your motorcycle suspension. We will discuss the importance of preload, compression, and rebound settings, as well as provide practical advice on how to measure and make adjustments effectively. With the right approach, you can unlock the full potential of your motorcycle and experience a smoother, more controlled ride.
Determining the Right Sag Settings for Your Weight

Setting the correct sag is essential for optimal motorcycle handling and performance. Sag refers to the amount your bike’s suspension compresses under your weight when you sit on it. Proper sag settings ensure that the suspension performs effectively throughout its travel, providing better stability, traction, and comfort.
To determine the correct sag settings, start by measuring your bike’s static and rider sag. Static sag is the amount your bike settles when it is not being ridden but fully loaded with gear. Rider sag is the amount of compression when you sit on the bike in your typical riding position, wearing your usual gear. These measurements help you adjust the suspension to fit your weight and riding style.
To measure static sag, lift the bike and let it settle on its own. Measure the distance from the rear axle to a specified point on the bike, such as the seat or a designated mark on the frame. Then, sit on the bike and take the same measurement to determine rider sag. The recommended rider sag typically ranges from 25mm to 40mm for most motorcycles, but this can vary depending on the bike type and intended use.
If the rider sag exceeds the recommended range, you may need to increase spring preload by adding spacers or adjusting the preload adjuster. Conversely, if the rider sag is below the desired range, reducing the preload will be necessary. It’s crucial to achieve this balance, as improper sag can lead to poor handling characteristics, such as excessive nose dive during braking or instability in turns.
Bear in mind that weight distribution can also affect sag settings. Heavier riders often require stiffer springs, while lighter riders may need softer ones for proper compression. Always consult your bike’s manual or a professional for the correct spring rates based on your weight and riding style.
Once you’ve set the sag, take your bike for a test ride. Pay attention to how it feels when accelerating, braking, and cornering. Making minor adjustments based on your experience will help refine the setup further, enhancing your overall handling performance.
Adjusting Compression and Rebound Damping for Optimal Ride Quality
To improve ride quality and handling on your motorcycle, adjusting both compression and rebound damping is essential. These adjustments directly affect how the suspension reacts to road imperfections and rider inputs.
Compression damping controls the speed at which the suspension compresses when hitting bumps or obstacles. A higher compression damping setting increases resistance to compression, which provides a firmer feel and helps maintain control during aggressive riding. Conversely, reducing compression damping allows the suspension to absorb bumps more effectively, providing a smoother ride but potentially sacrificing stability during high-speed maneuvers.
Rebound damping, on the other hand, governs how quickly the suspension extends back after compression. Proper rebound settings prevent excessive bouncing. If set too fast, the suspension may not settle after a bump, leading to a harsh ride and decreased traction. If set too slow, the bike may feel unstable, as it takes longer to regain its original position, especially in consecutive bumps.
To achieve optimal ride quality, start by adjusting compression damping. Test ride the motorcycle and find a balance where the bike feels responsive to inputs without being harsh. Once satisfied with compression settings, move on to rebound damping adjustments. Aim for a setting that allows the suspension to return smoothly without causing the bike to bounce excessively.
It may be necessary to repeat this process several times, making small adjustments until achieving the desired feel. Remember that every rider’s preference is different, and factors such as weight, riding style, and terrain can affect optimal settings. Always take note of your adjustments to return to previous settings if necessary.
Ultimately, fine-tuning compression and rebound damping can significantly enhance your riding experience, resulting in improved comfort and better control on various road conditions.
Tuning Front and Rear Suspension to Match Riding Style and Conditions

Properly tuning the front and rear suspension of your motorcycle is essential for optimizing performance based on your riding style and the conditions you encounter. Each rider has a unique approach to handling their bike, and understanding the adjustments needed can lead to a more enjoyable and safer ride.
Begin with the front suspension. The fork settings primarily influence handling during cornering, braking, and acceleration. If you prefer aggressive riding or frequent cornering, consider reducing the compression damping for better responsiveness. Conversely, for touring or long-distance riding, increasing the compression damping might provide more comfort over rough surfaces.
Adjusting the rebound damping is equally important. A faster rebound helps keep the front wheel in contact with the ground on uneven terrain, improving traction. A slower rebound is beneficial for smooth surfaces, allowing the bike to settle into turns more naturally. Always remember to find a balance that fits your riding style and the terrain you typically encounter.
When tuning the rear suspension, consider your weight and riding load. If you often carry a passenger or luggage, increasing the preload will ensure the bike remains stable. For solo riders, a lower preload may enhance comfort and handling. The rear shock’s compression and rebound damping should also be fine-tuned similarly to the front, keeping in mind that adjustments here will significantly affect stability and traction during acceleration and braking.
Environmental conditions also play a critical role in suspension tuning. In wet or slippery conditions, a softer setup may increase traction and control. On the other hand, on smooth race tracks or hard surfaces, a stiffer setup can provide better feedback and cornering capabilities. It’s essential to adjust both the front and rear suspension collectively to maintain the balance and geometry of the motorcycle.
In conclusion, effective suspension tuning requires careful consideration of your riding style and anticipated conditions. Regular experimentation with settings can help find the ideal balance, leading to improved handling and a more connected riding experience. Always take the time to test ride after adjustments to ensure the changes meet your expectations and enhance your overall riding performance.


